Hello and happy Easter!
Today I am up on the Cocoa Daisy blog with my first ever entry! It feels sooooooo weird and fun! In the entry I am using an envelope I have made and down below is a step by step instruction on how to do it. There is also a video showing it.
You will need
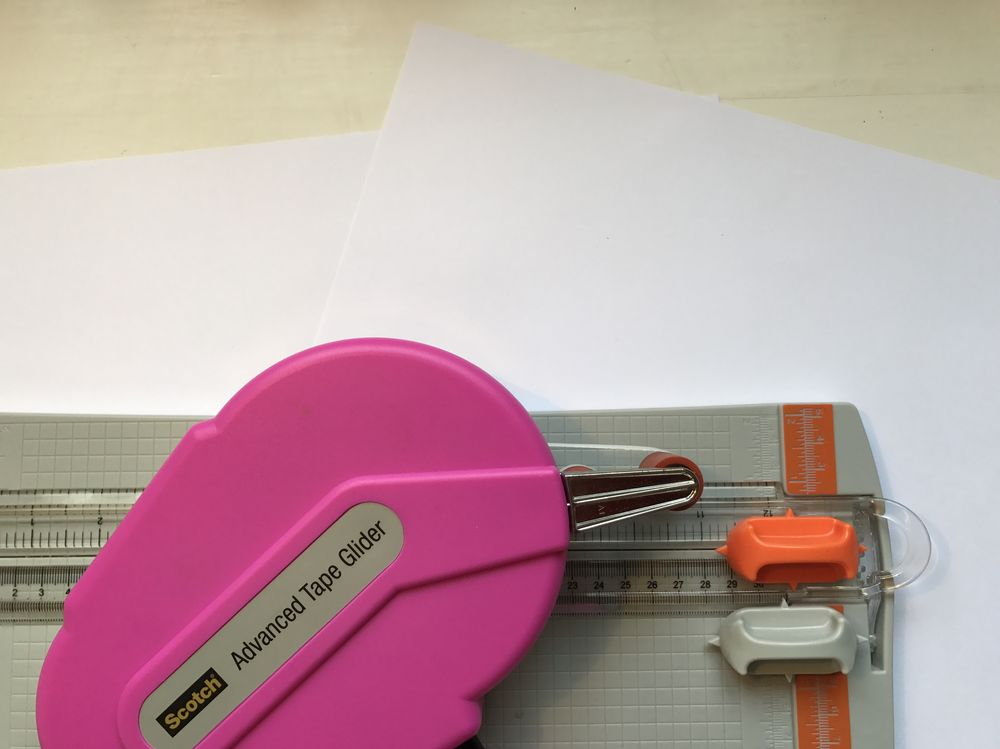
- Two pieces of cardstock
- Paper trimmer
- Scoring and cutting blade
- Permanent adhesives
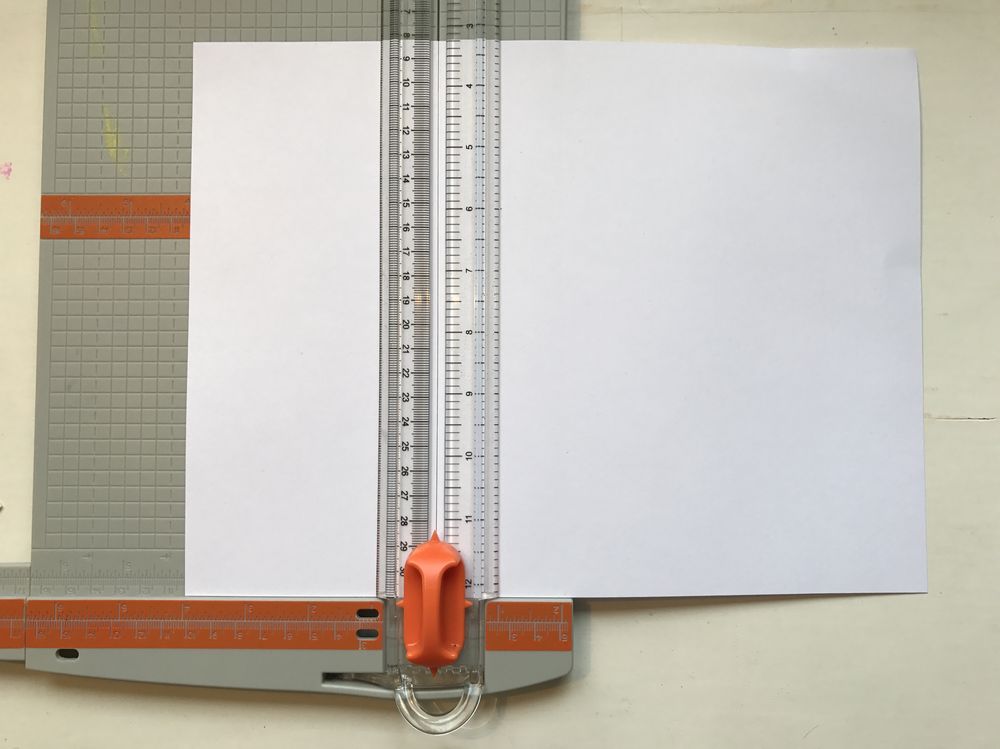
Start by cutting one of the papers to 12x11
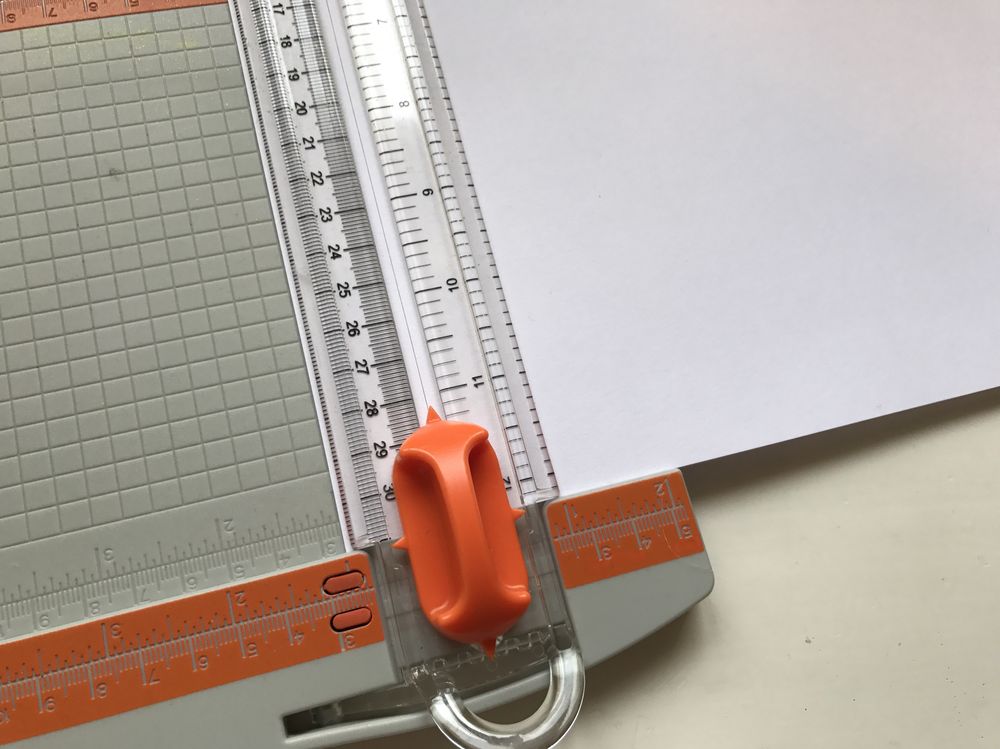
Turn the paper and use the scoring blade to make a crease at 5,75', this side is going to be the inside of the envelope. Turn the paper and make a crease at 6'. Turn it again at make a crease at 6,25'
This is what the paper will look like.
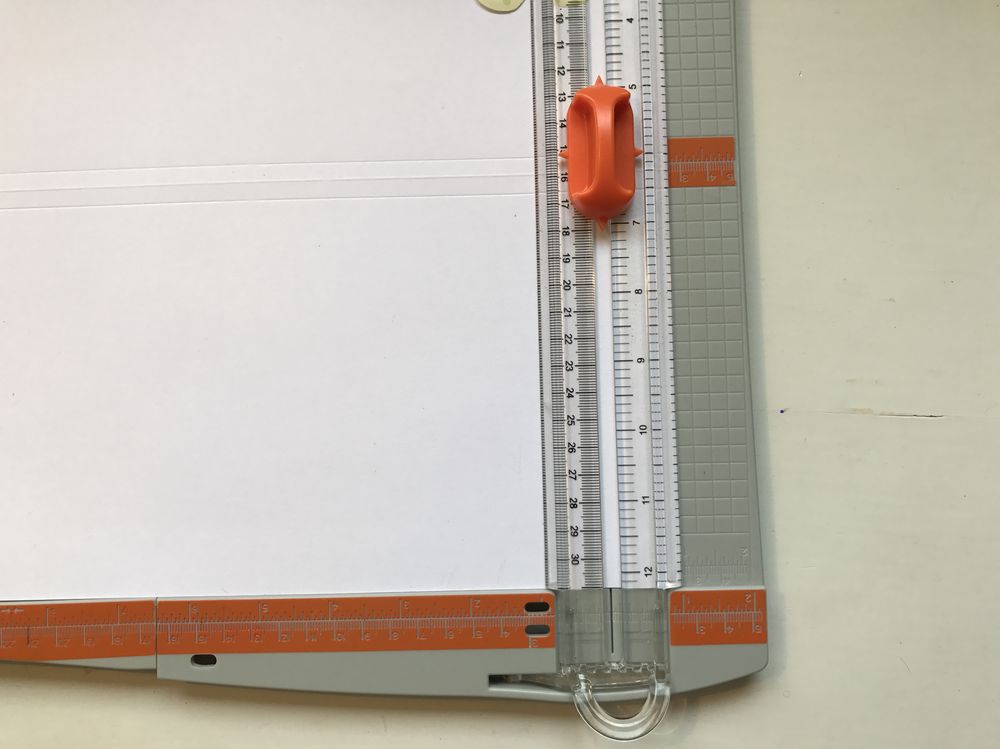
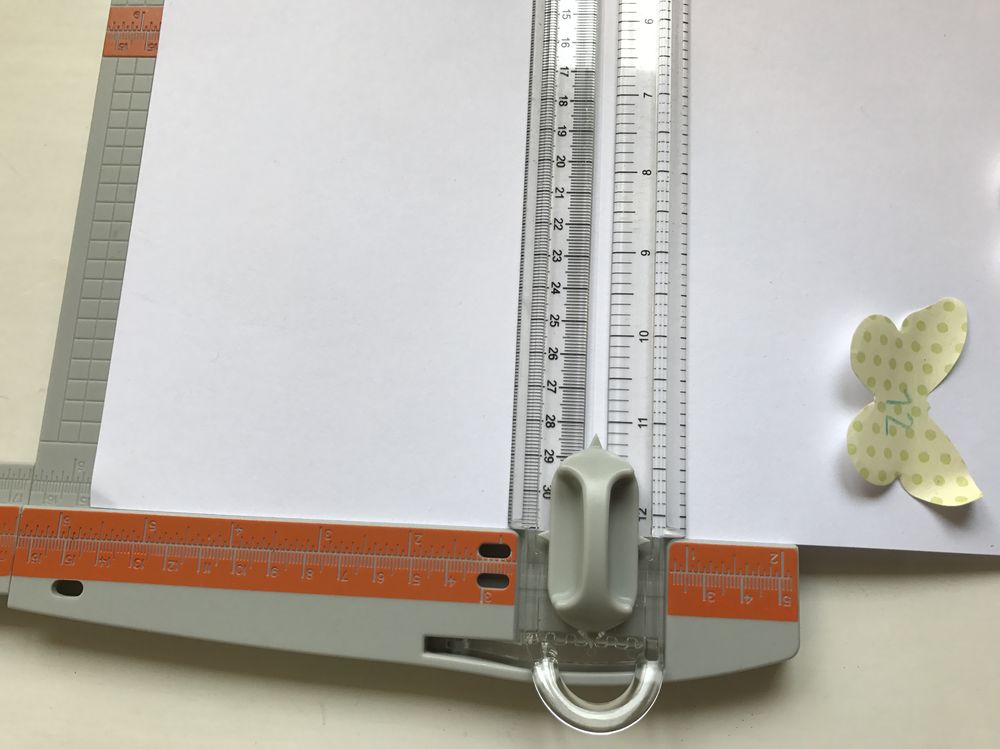
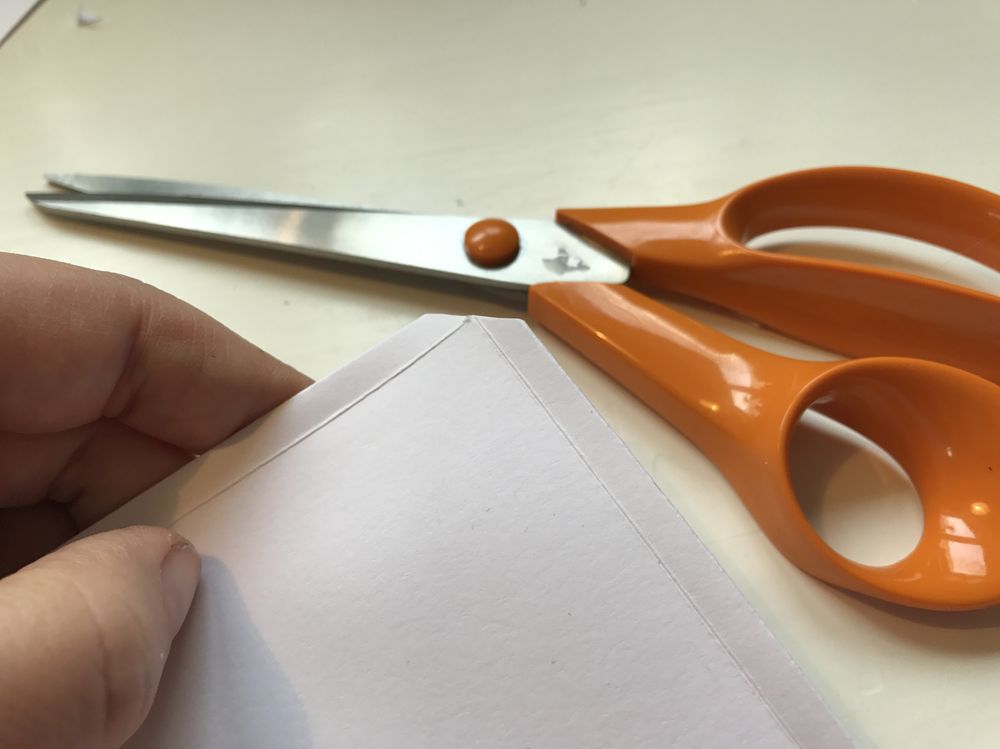
Switch to the cutting blade. Cut off 1' on both sides, starting at the upper crease. The upper half is going to be the front of the envelope and the bottom half is going to be the back.
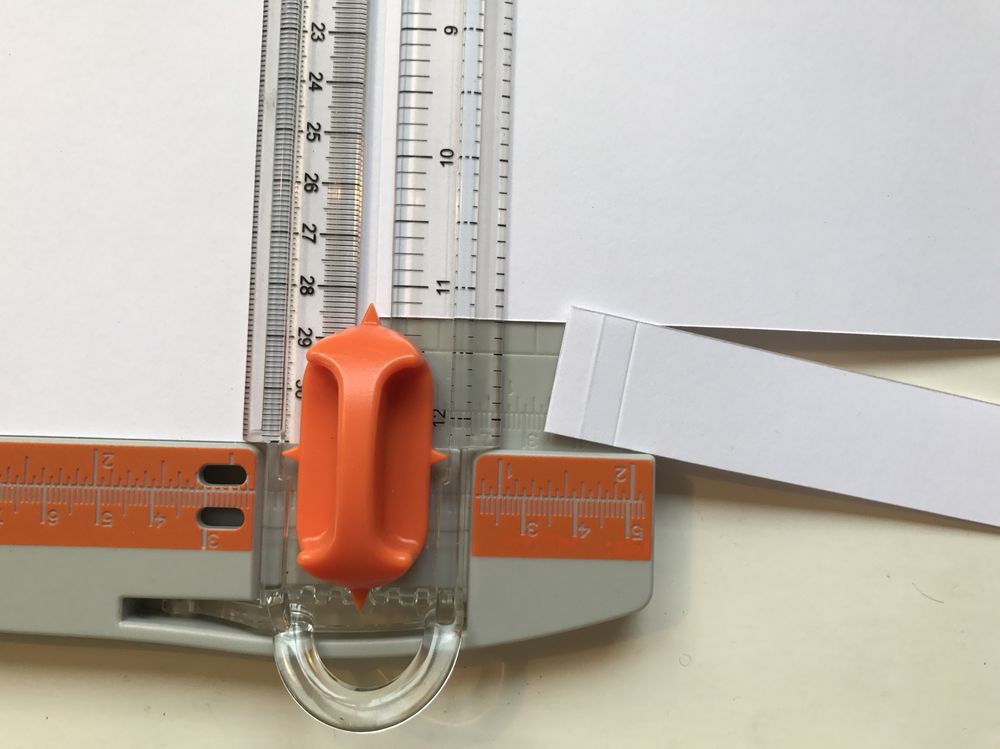
Turn the paper and cut off the paper strips along the upper crease.
This is what the paper should look like by now.
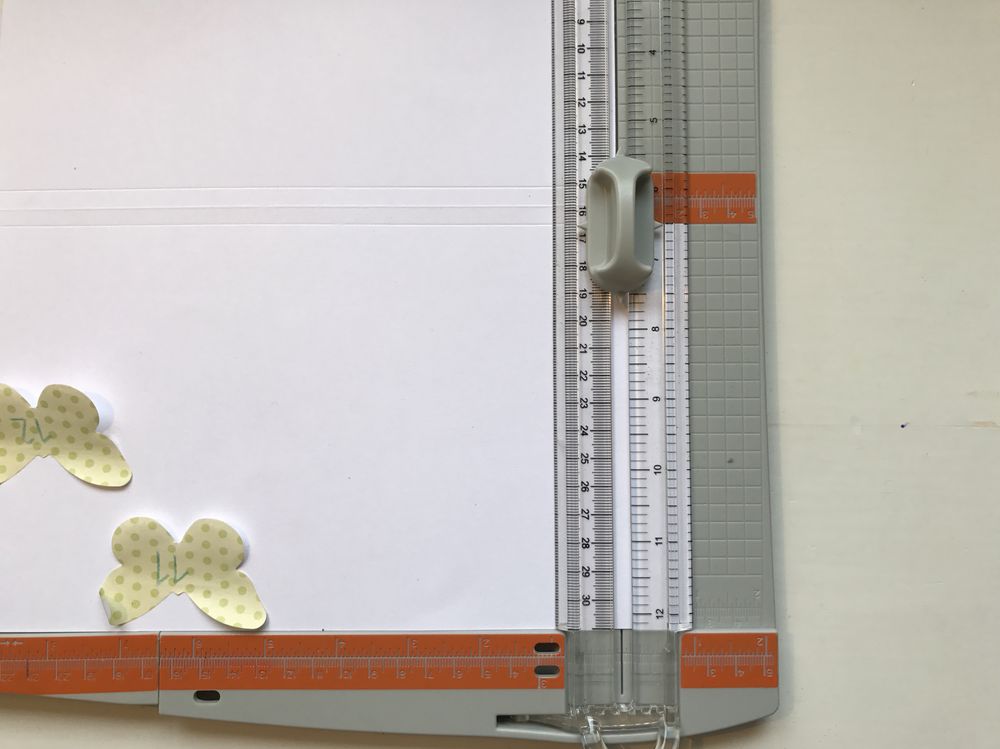
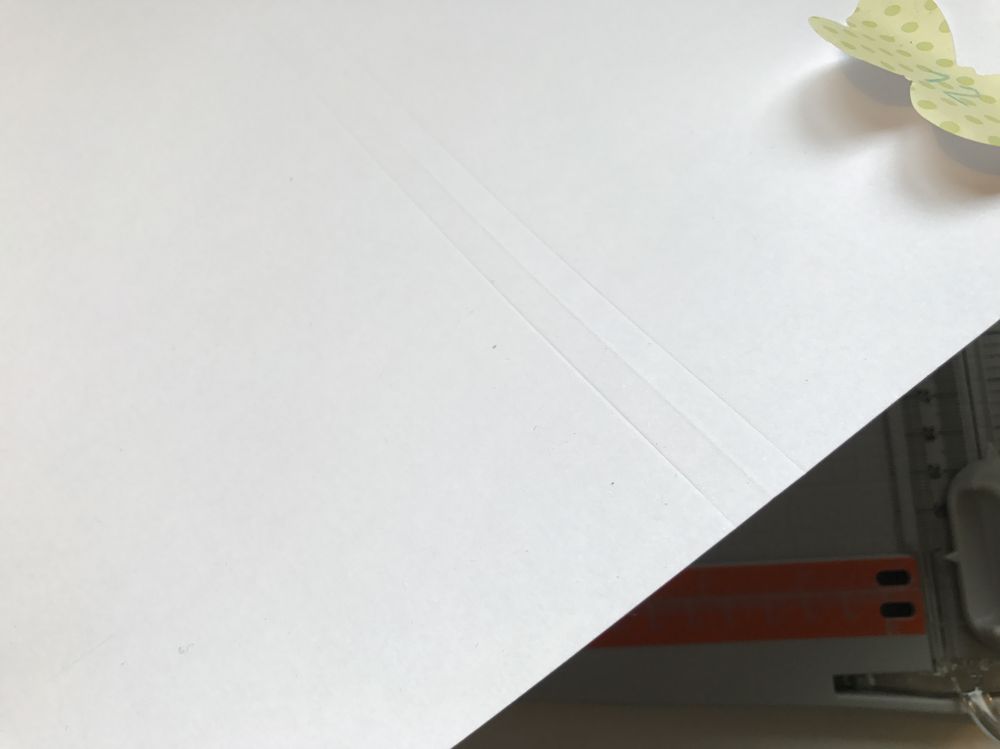
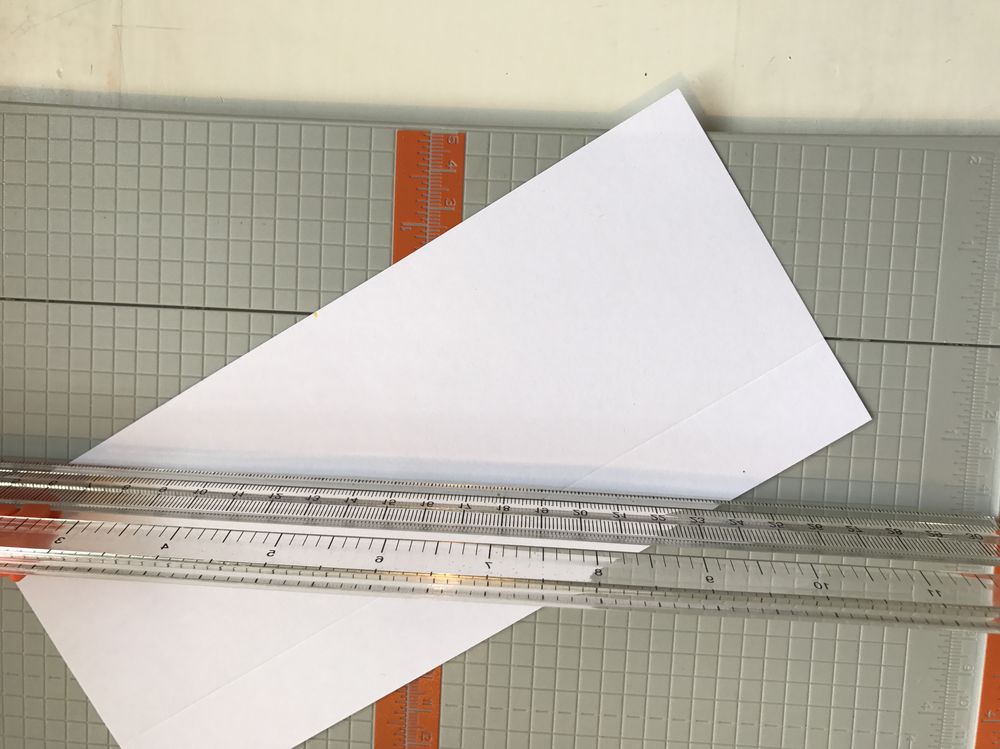
Use the scoring blade to make a crease 1' from the edge on the upper half sides. Turn the paper and make a crease 0,75' from the edge and turn the paper again and make another crease at 0,5' from the edge. Repeat the process on the other side of the envelope.
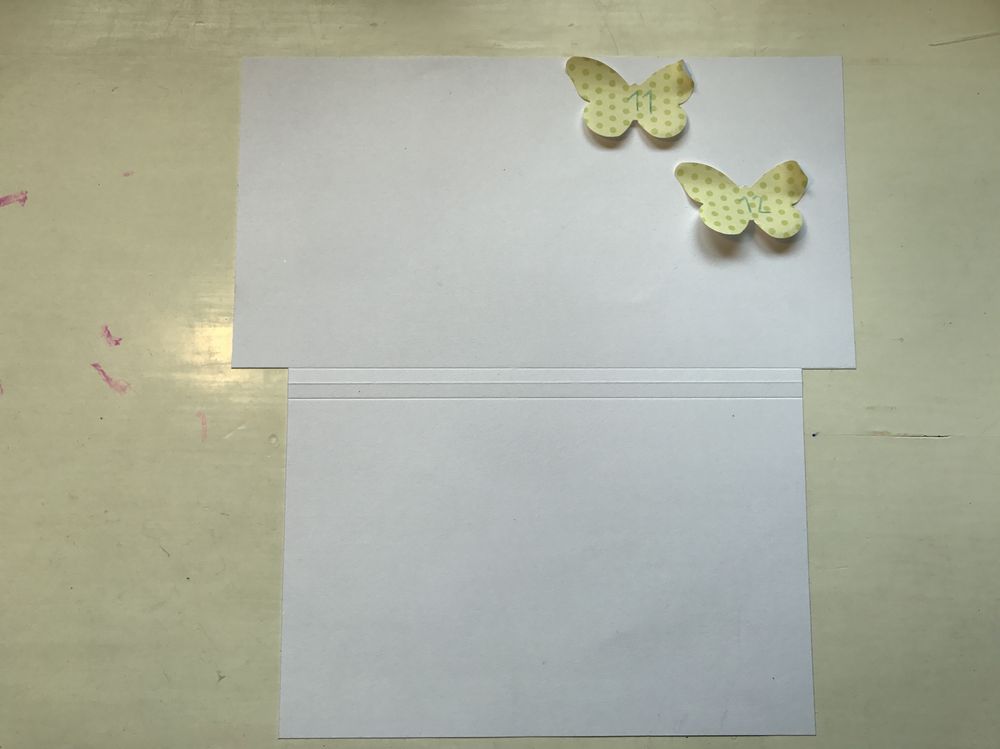
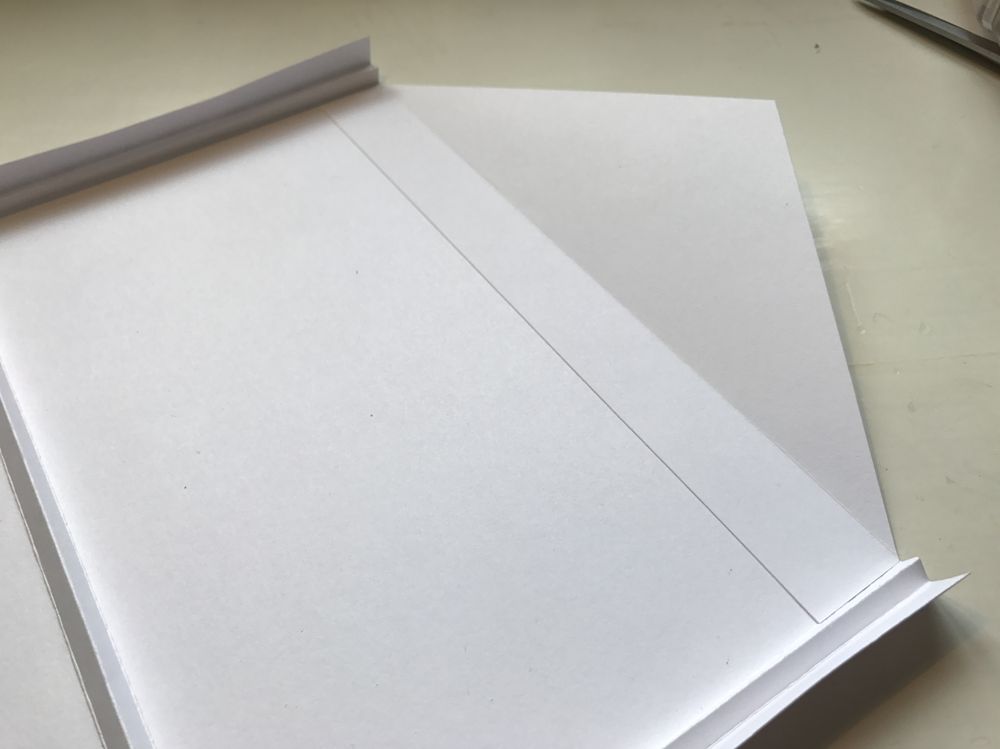
Cut out a 4x9' piece from you second paper. Make a crease at the long side 1' from the edge.
Mark out the middle of the paper and place it so that you'll make a cut from the middle to the crease.
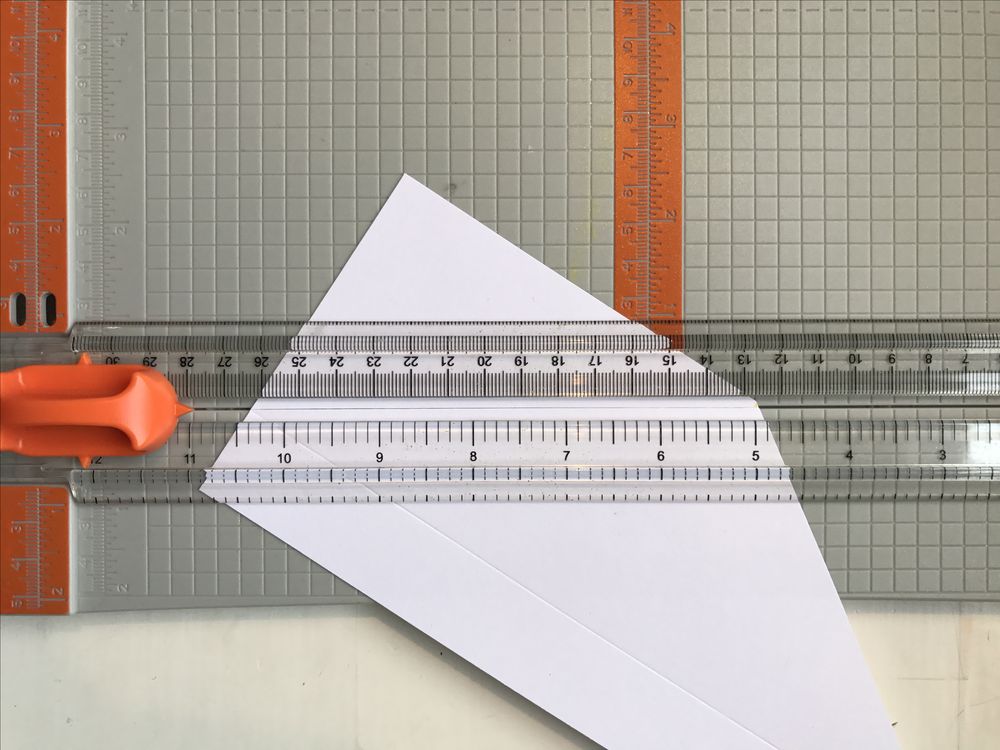
Repeat the process on the other side of the paper.
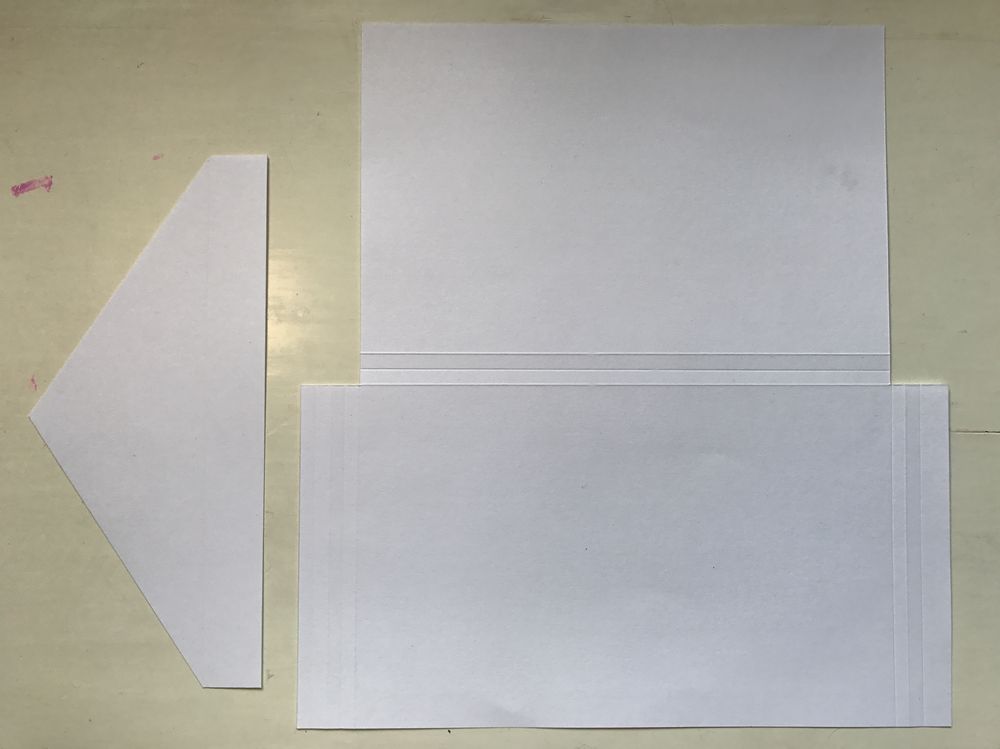
Both of the pieces for your envelope are now done!
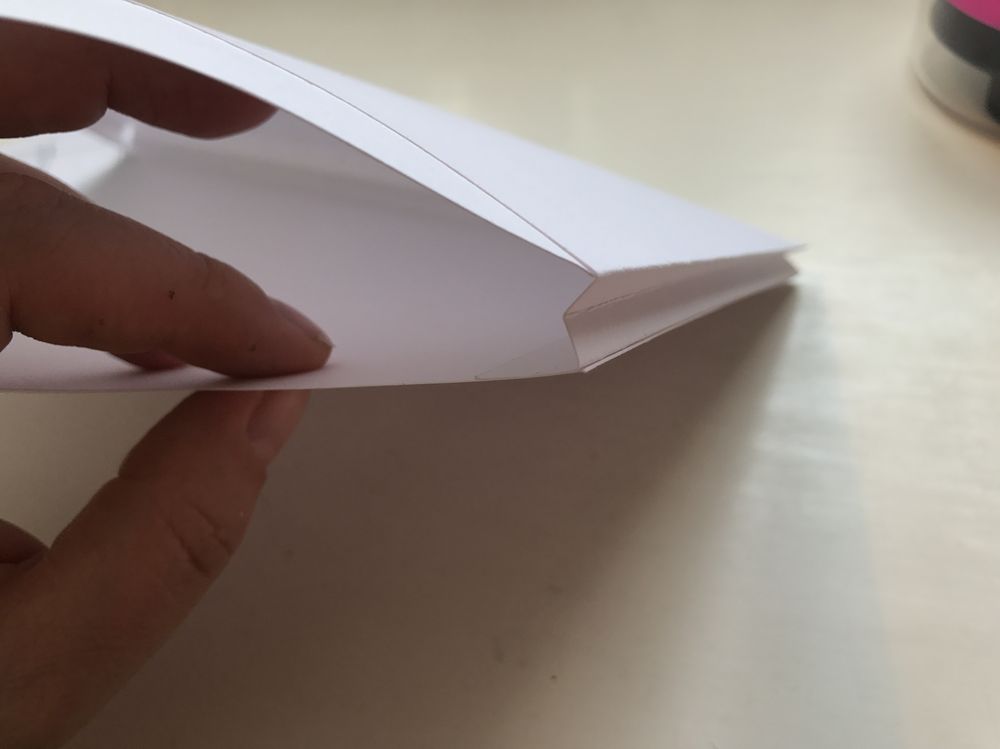
Bend the paper at the creases, first bend it inwards at the first crease, turn the paper and bend, turn and bend one last time, repeat the process on all of the creasings. cut the corners off at the bottom, this will hinder the paper from overlapping making it hard to glue together.
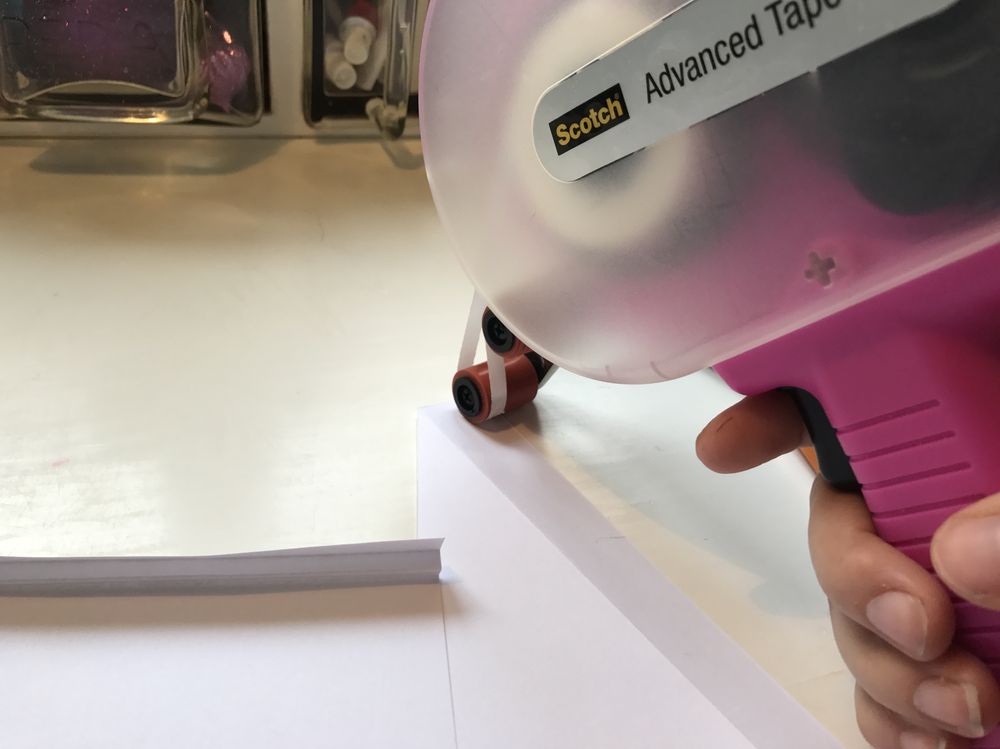
Bend the crease on the closing flap and put a good amount of glue on it.The side with glue is going to be the side that shows on the outside.
Glue the closing flap to the upper half of the envelope.
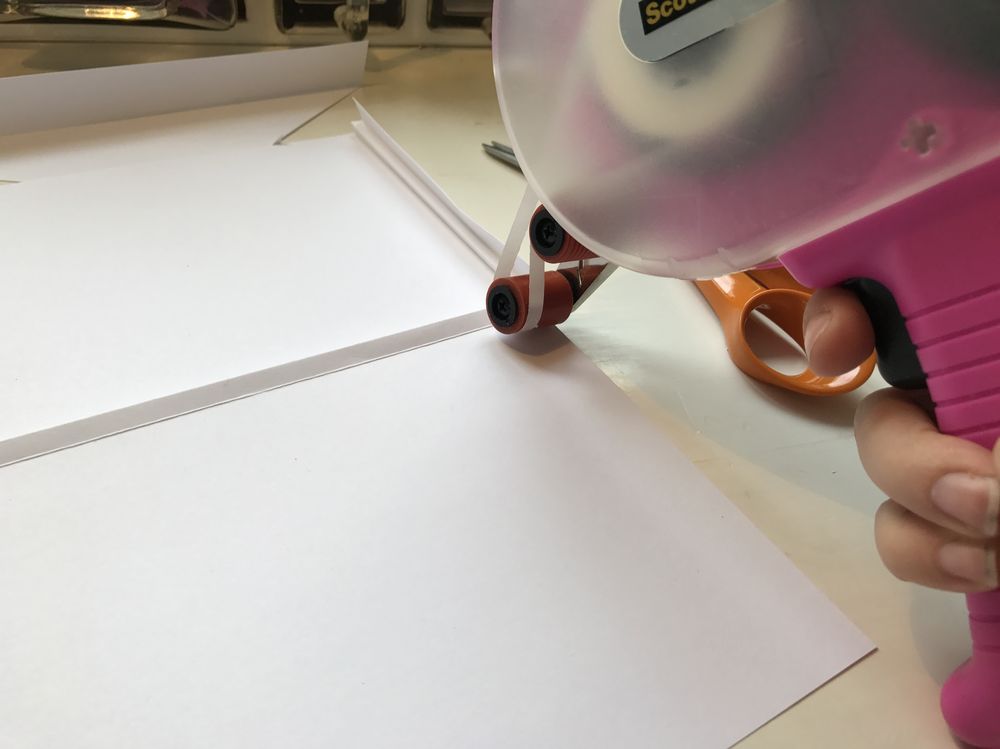
Put glue on both sides of the bottom half of the inside of the envelope.
Align the sides and glue the envelope together.
Be sure to drop by the Cocoa Daisy blog to see how I used the envelope on my travels.
Take care!
/Anna
DIY Sticker envelope
Allmänt KommenteraHello and happy Easter!
Today I am up on the Cocoa Daisy blog with my first ever entry! It feels sooooooo weird and fun! In the entry I am using an envelope I have made and down below is a step by step instruction on how to do it. There is also a video showing it.
You will need
- Two pieces of cardstock
- Paper trimmer
- Scoring and cutting blade
- Permanent adhesives
Start by cutting one of the papers to 12x11
Turn the paper and use the scoring blade to make a crease at 5,75', this side is going to be the inside of the envelope. Turn the paper and make a crease at 6'. Turn it again at make a crease at 6,25'
This is what the paper will look like.
Switch to the cutting blade. Cut off 1' on both sides, starting at the upper crease. The upper half is going to be the front of the envelope and the bottom half is going to be the back.
Turn the paper and cut off the paper strips along the upper crease.
This is what the paper should look like by now.
Use the scoring blade to make a crease 1' from the edge on the upper half sides. Turn the paper and make a crease 0,75' from the edge and turn the paper again and make another crease at 0,5' from the edge. Repeat the process on the other side of the envelope.
Cut out a 4x9' piece from you second paper. Make a crease at the long side 1' from the edge.
Mark out the middle of the paper and place it so that you'll make a cut from the middle to the crease.
Repeat the process on the other side of the paper.
Both of the pieces for your envelope are now done!
Bend the paper at the creases, first bend it inwards at the first crease, turn the paper and bend, turn and bend one last time, repeat the process on all of the creasings. cut the corners off at the bottom, this will hinder the paper from overlapping making it hard to glue together.
Bend the crease on the closing flap and put a good amount of glue on it.The side with glue is going to be the side that shows on the outside.
Glue the closing flap to the upper half of the envelope.
Put glue on both sides of the bottom half of the inside of the envelope.
Align the sides and glue the envelope together.
Be sure to drop by the Cocoa Daisy blog to see how I used the envelope on my travels.
Take care!
/Anna