Hi! Today I will be sharing a little quick tutorial in how to hand stitch on paper. There is also going to be a video up on my YouTube channel: kaffekananna. Yay!
You will need:
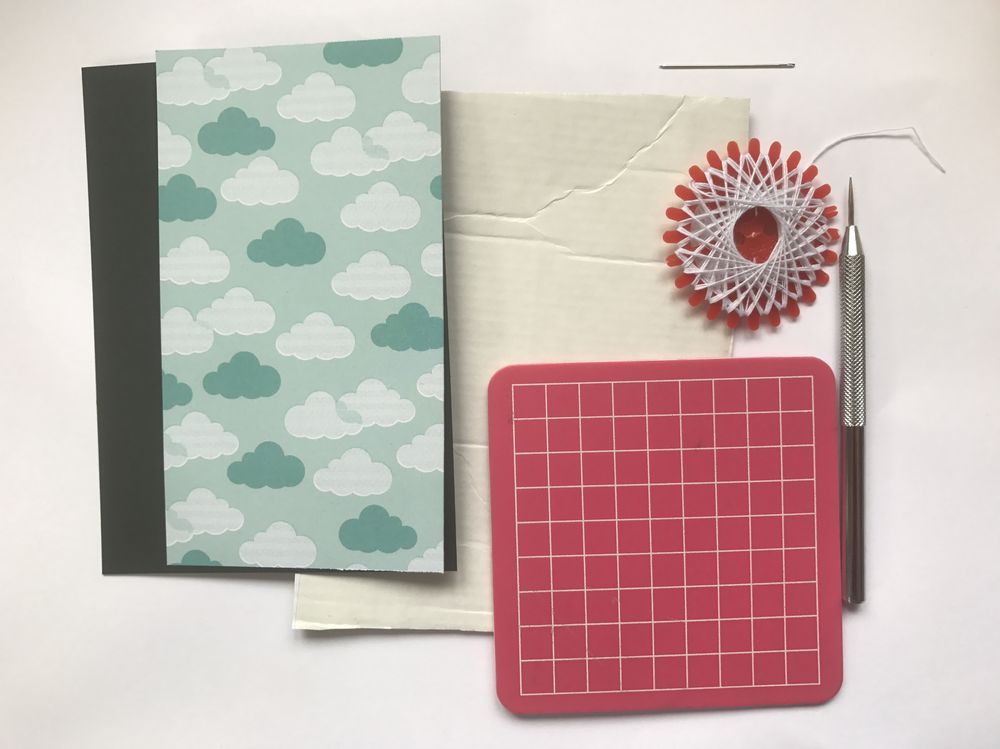
- two pieces of paper
- cardboard
- crafting mat
- thread of you choice
- sewing needle
- piercing tool
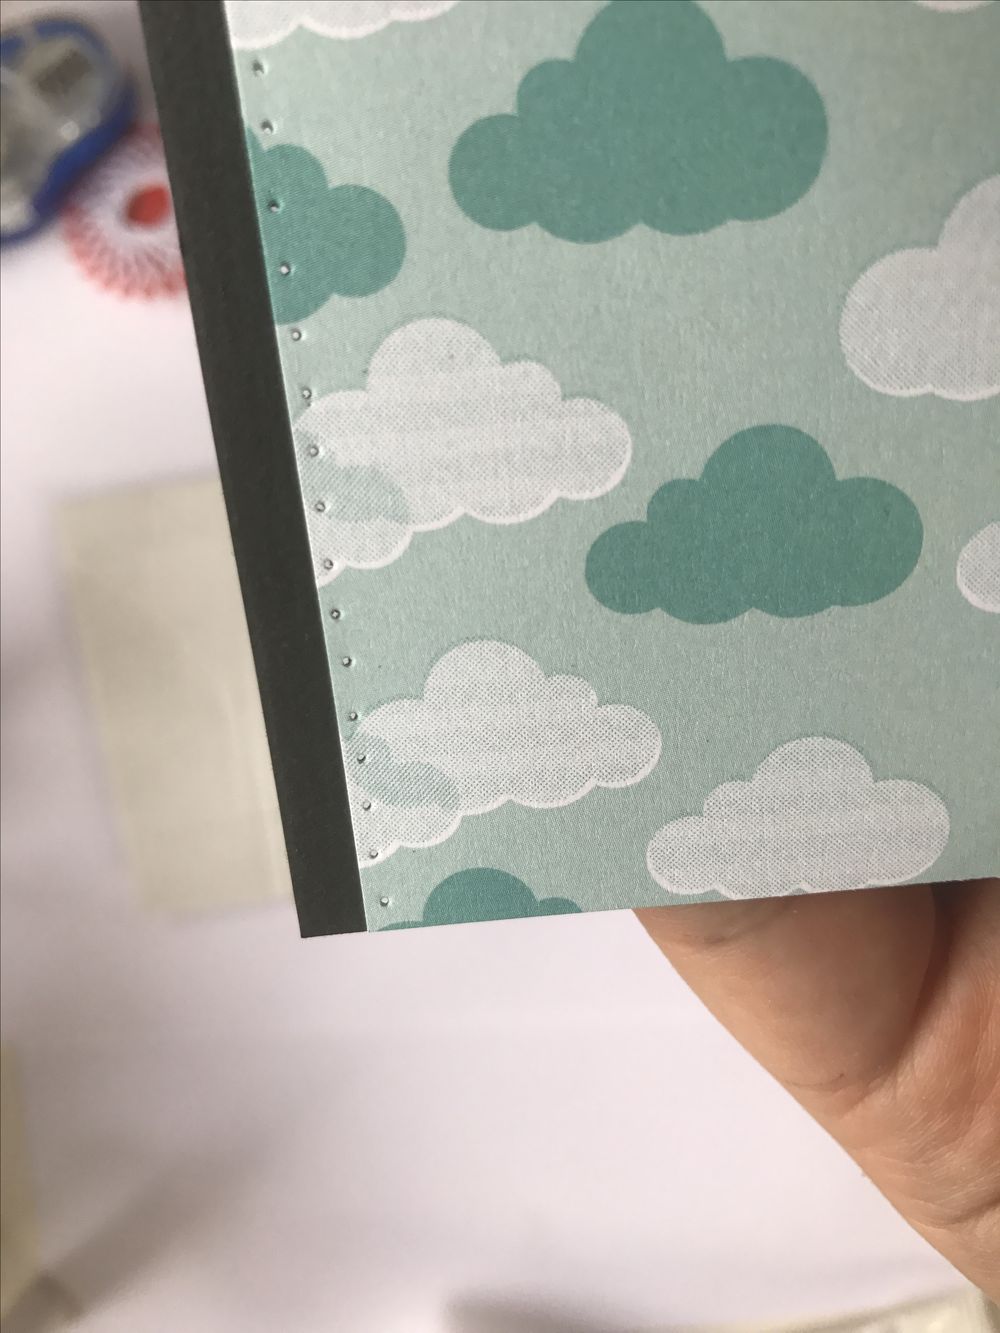
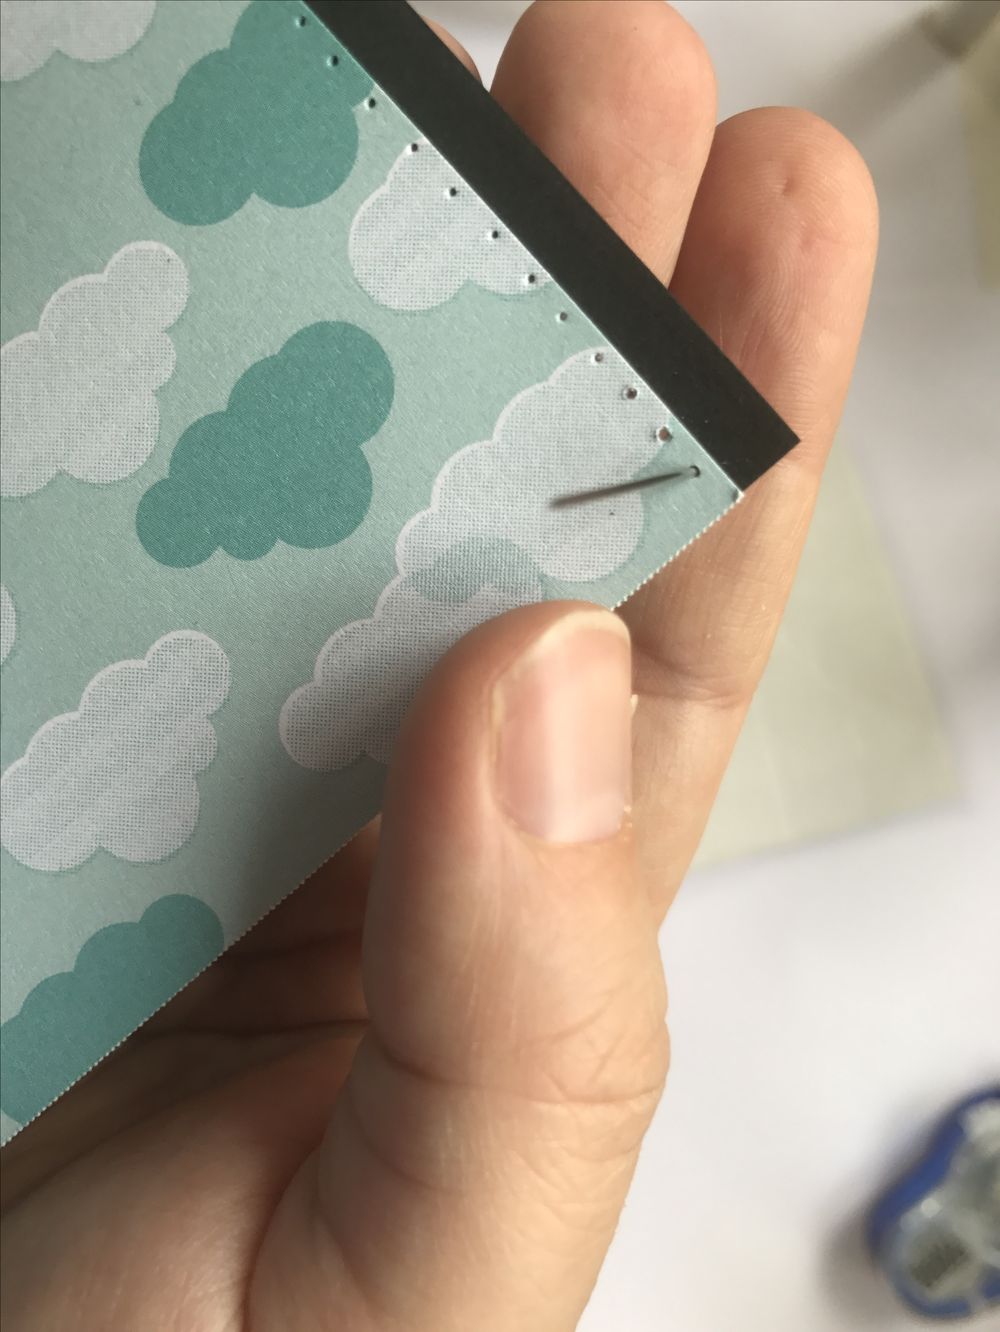
Start off by making holes, line the papers up and place the cardboard under it and if you are careful of your desk or table top you place a crafting mat underneath it all.
If you want to you can draw a line where you want to place your holes and you can even mark out exactly where each hole goes. Be sure to use a pencil if you do so you can erase it when you are done making holes.
I prefer to do this freehanded though at about 1/8 of an inch apart. I wouldn't recomend to go much closer together than this as you may end up just ripping your paper.
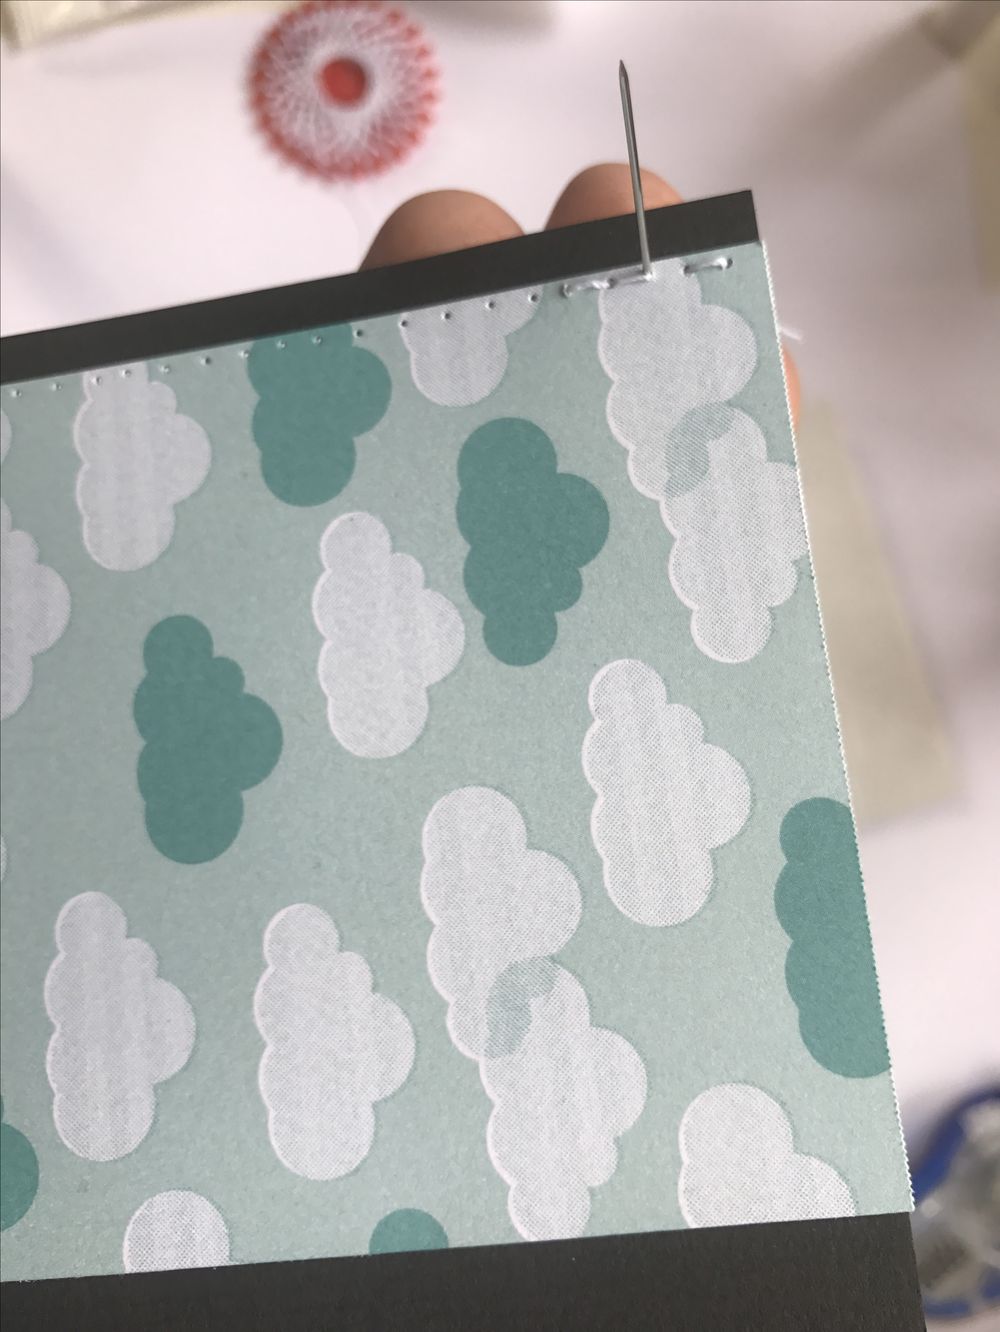
When making your holes it is easier if you work towards you, especially if you are doing it freehanded, this way your line will be straighter than if you are working away from yourself or sideways. Just like when you are drawing straight lines.

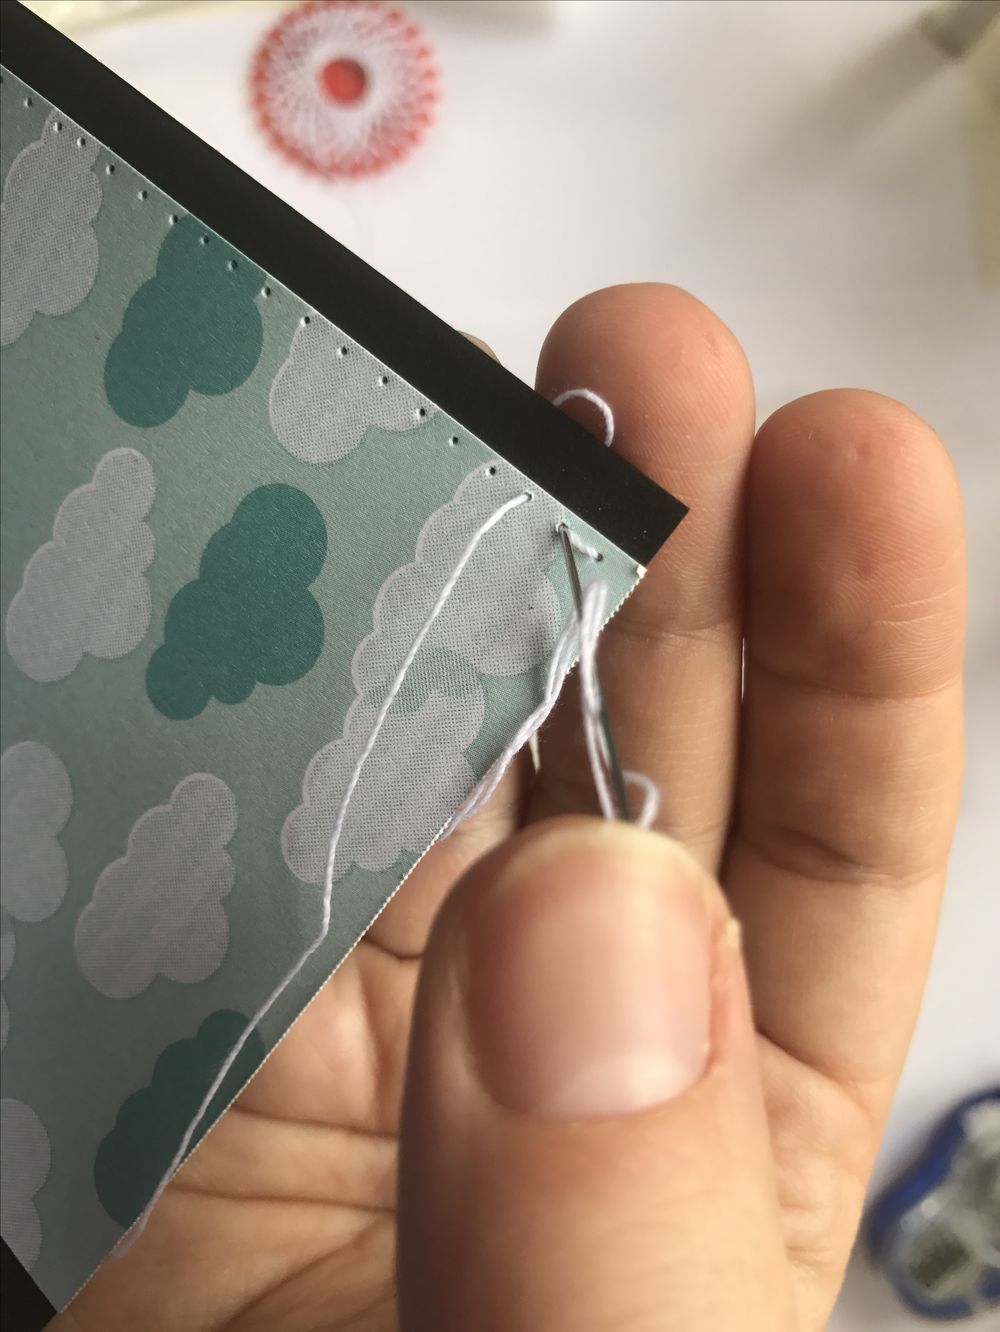
Thread your needle. I am going to go through two kinds of stitches, depending on what you are going to use your stitches for. The first stitch I feel like is a bit faster to do but the stitches at the back doesn't end up as neat as on the front, I use this for 12x12 layouts where I only want the front to look nice. The other stitch is neater on the back but takes a bit more time, this I use when I make cards for example.
STITCH NUMBER ONE

Bring your needle up throuhg the second hole. Be sure to secure the end of the thread with one of your fingers before going back down in the first hole.
Bring your needle back up in the third hole and then down again in the second hole. Then up in the fourth hole and down in the third. Continue in the same way until you are finished. The stitches on the back will be a bit longer than the ones in the front but when you have worked your way down you will be finnished. Secure the ends on the back with a bit of washi tape.
THE SECOND STITCH
Bring your needle up in the first hole. And down in the second, up in the third and down in the fourth...
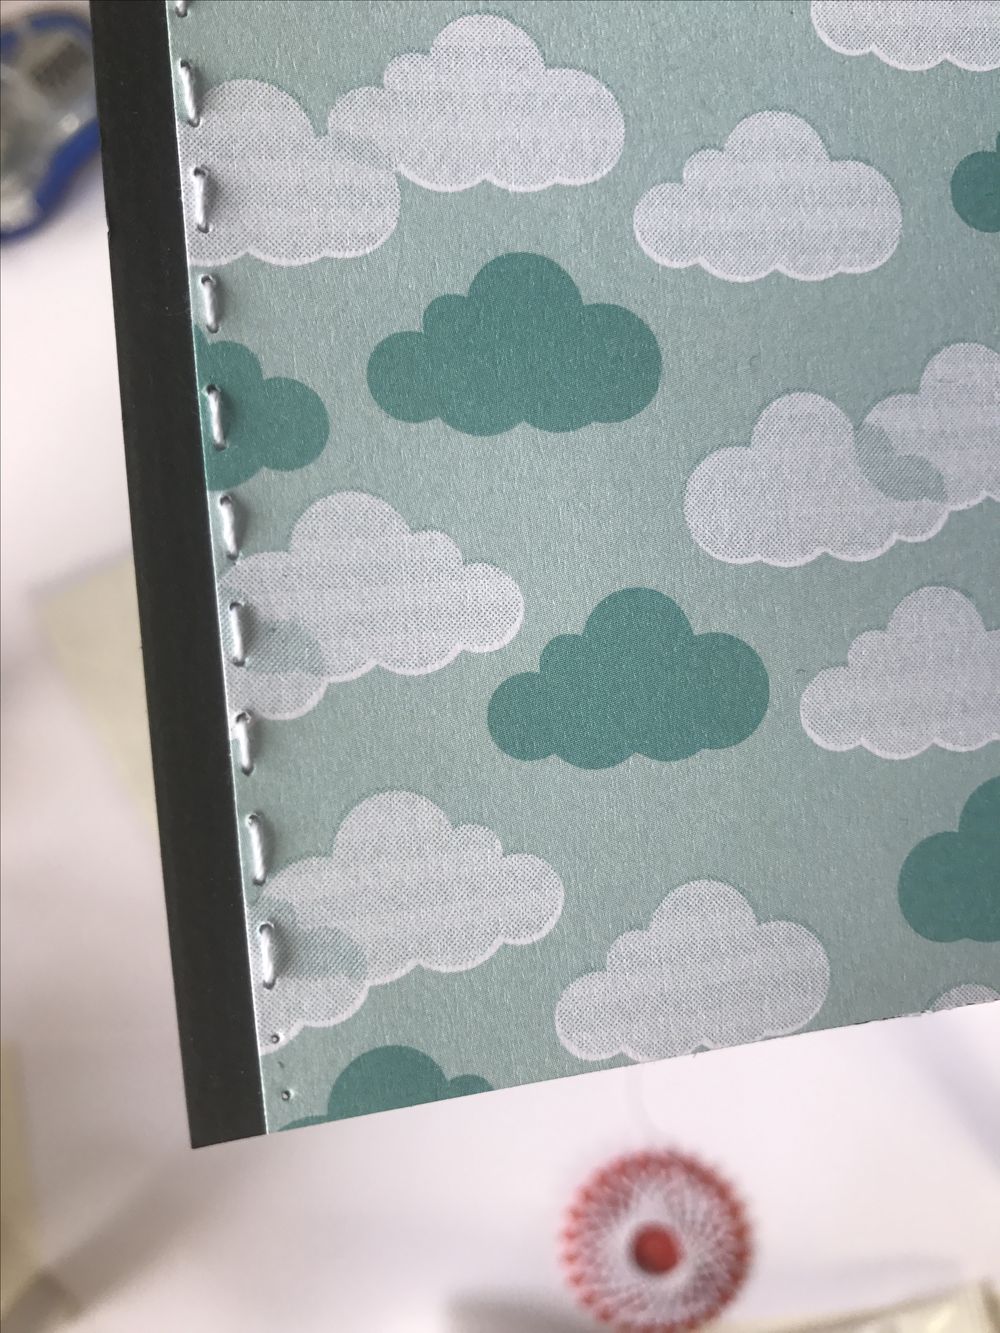
Repeat the process all the way to the end.
And then go back to fill in the blanks, this way your front and back will be neat which is perfect if you, like here, are going to make a card.
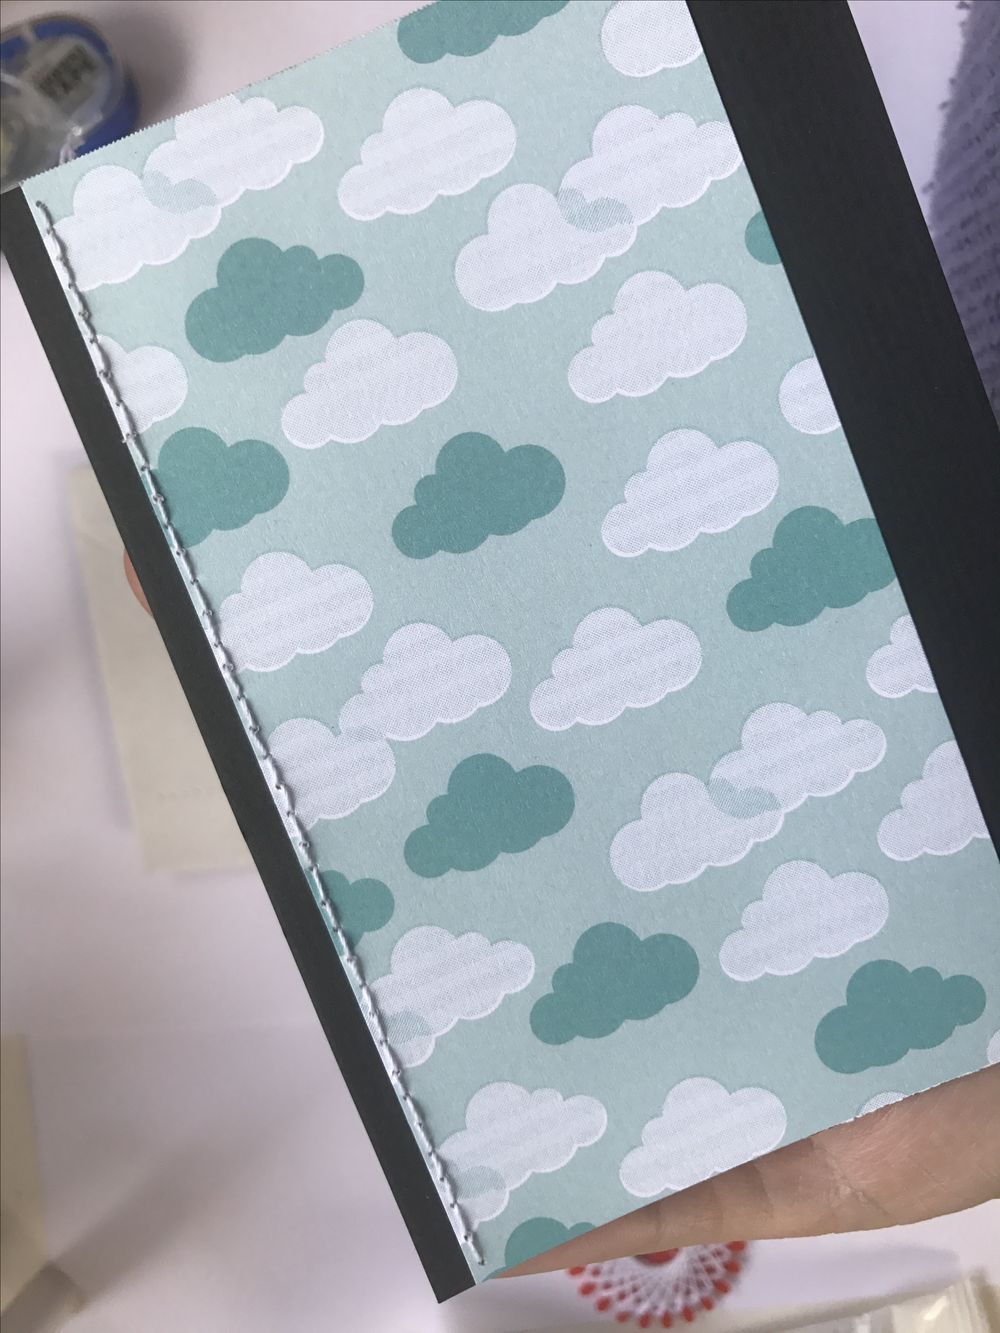
This is what your stitches will look like on both sides. If you want to you can secure your ends with a piece of washi or you can just simply leave them as is.
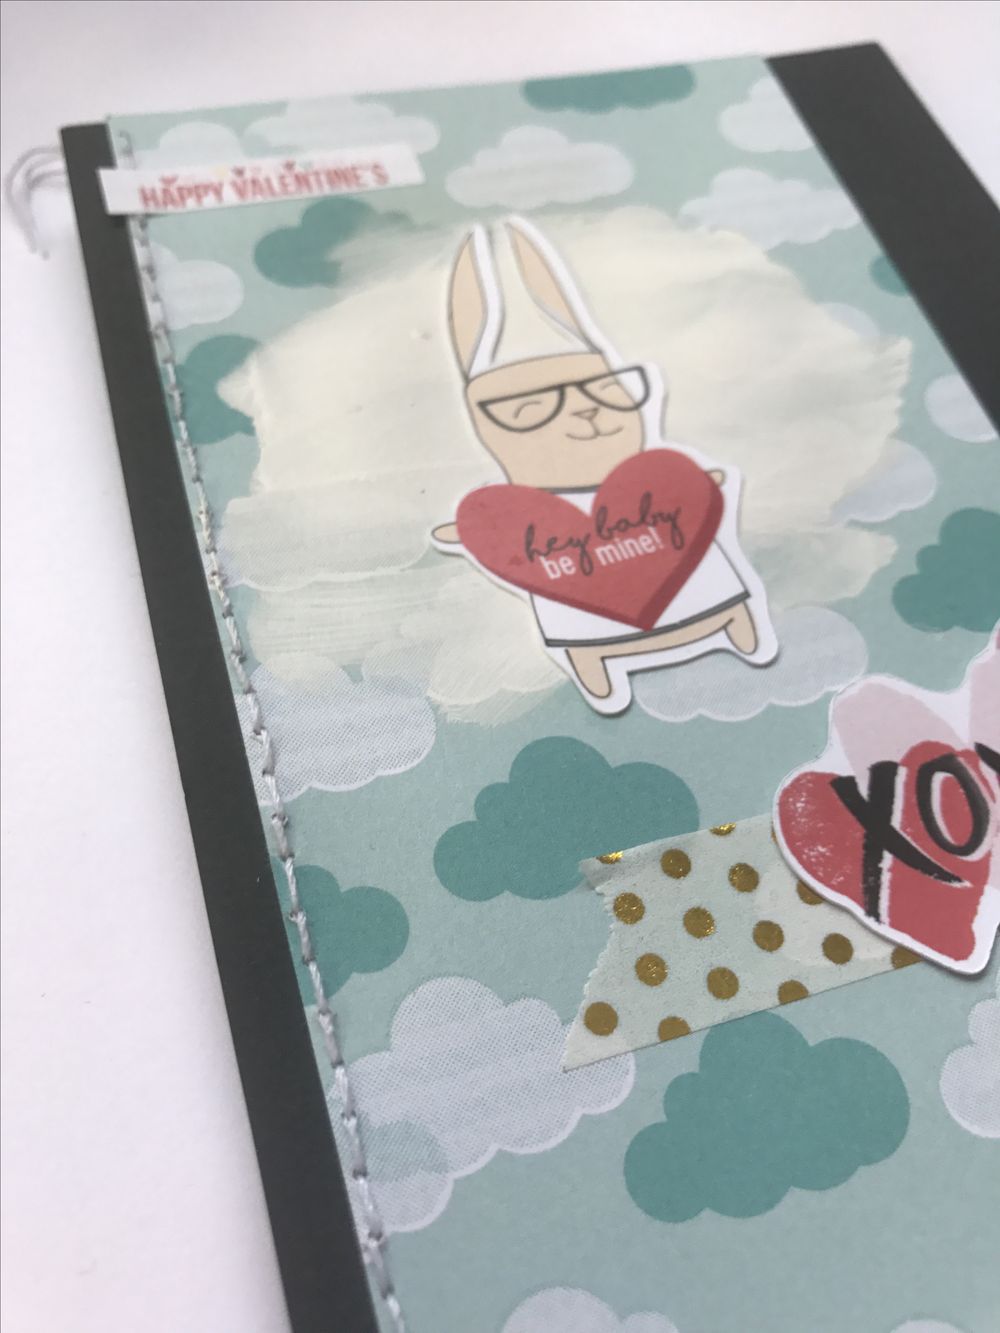
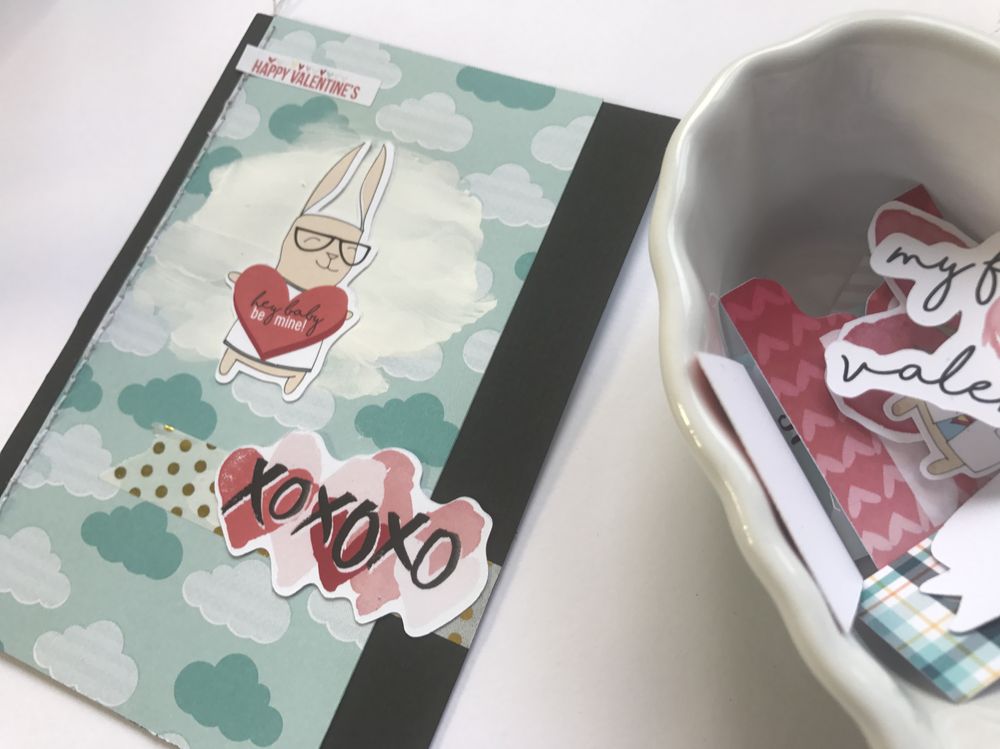
I finished my card off with a little bit of paint, a strip of washi, a sticker and a couple of die cuts from the Cocoa Daisy planner kit.
Hope this tutorial was helpful, please let me know if you have any further questions on hand sewing paper OR if you have any suggestions on other tutorials you want to see in the future!
Take care!
/Anna
/Anna